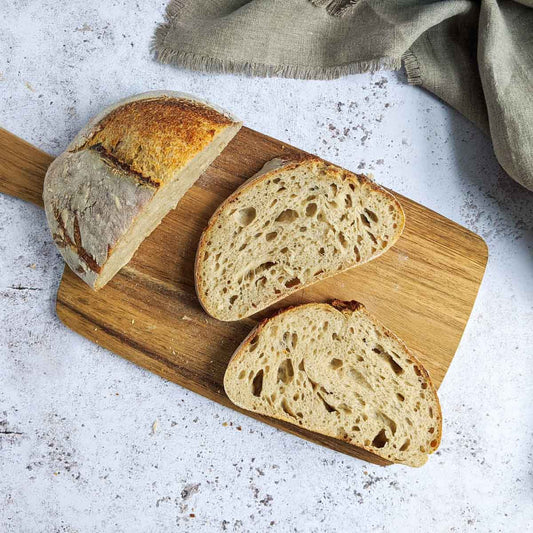
Makes 1 Sourdough Artisan Bread | Total Fermentation: 24 - 48 hours | Bake Time: 40 minutes
Process Video | Bake + Cut Video | Whisk Link
What supplies do you need for this pumpkin sourdough bread?
These are your bread-making essentials:
- Kitchen Scale - I recommend this digital scale or this non-digital scale
- Proofing Basket - I recommend this brand. If you don't have a proofing basket, I recommend using a Tupperware that is similar in size to the proofing basked and line it with a folded cloth so it cradle the bread. If you go this route, be sure to cover you bread with a cloth to keep it from drying out.
- Cast Iron Dutch Oven - I recommend investing in this lodge cast iron. Using a covered cast iron will your bread the rise, crust, and tender crumb you're looking for.
- Scoring Tool - I actually like to buy mine from Etsy sellers like this one but this one is also great.
- Dough Scraper

Ingredients for Pumpkin Sourdough Bread
- 450g Bread Flour - I used King Arthur Bread Flour & 20% of Farmer Ground Whole Wheat Flour
- 280g Water
- 180g Pumpkin Puree
- 90g Sourdough Starter
- 9g Sea Salt
- 2 TSP of Rosemary (or to your liking!)

How to make Pumpkin Sourdough Bread
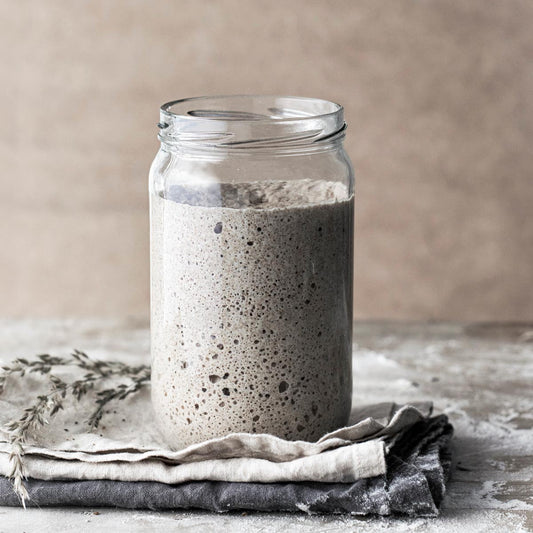
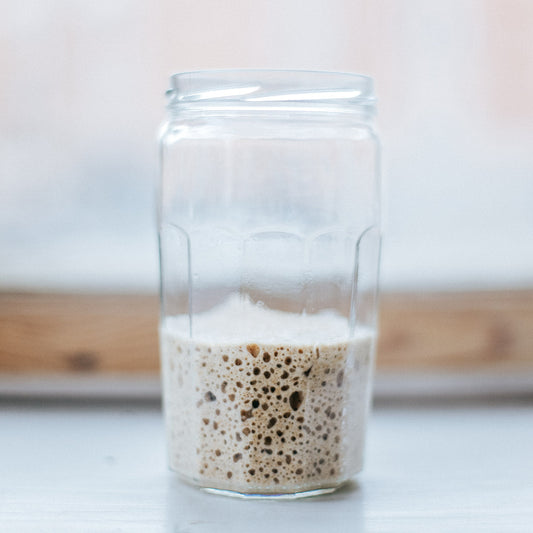
- Feed Your Starter: You'll want to feed your starter about 8-12 hours before you plan to mix all of the ingredients together. Since this recipe calls for 100g of active, bubbly starter, it makes sense to feed at least 70 grams of water and 70g of flour the night before.
- *Optional* Autolyse Dough, 1 - 2 hours : In a large bowl or Tupperware, combine flour and water. Using your hands, mix the ingredients together until the dough fully absorbs the water. This will only take a couple of minutes, and there should be no dry patches left when you're done. Cover with a lid or cloth.
- Mix Dough: After you've let the dough autolyse, add sourdough starter and sea salt. Mix with your hands by slowly pinching in until incorporated. Perform 2 - 5 sets of stretch and folds.
- Bulk Fermentation, 3 - 7 hours: Bulk fermentation usually takes about 3-5 hours, but it can vary depending on the temperature of your home and the strength of your starter. My bulk fermentation took a total of 7 hours at roughly 68 F. For this step, you're going to perform 3-4 sets of stretch and folds every so often. Here's a great video showing how to do soft stretch and folds. The bulk fermentation is done when the dough has significantly increased in size, air bubbles form on top, and air pockets on the sides and bottom. You can also perform the poke test. If you poke the dough gently with your index finger and it bounces back, retaining its original shape in the affected spot, it's a sign your dough is ready.
- Cold Proof, 12 - 48 hours: Now it's time to lay your dough baby to rest and pop her in the fridge. First, you'll need to cover it to prevent the exterior of the dough from drying out. It's pretty standard for bakers to use a plastic ziplock bag or a dampened cloth. After you've covered the dough, place it in the fridge.
- Shape + Final Proof, 1 - 3 hours: Lightly flour your work surface, and sprinkle a little bit of flour on top of the dough as well. Shape your dough as desired and place in a covered banneton or container. Let it rest on the counter for another few hours or until slightly puffy.
- Preheat Oven, 30 mins: Place your Dutch oven into your oven and preheat to 500 degrees.
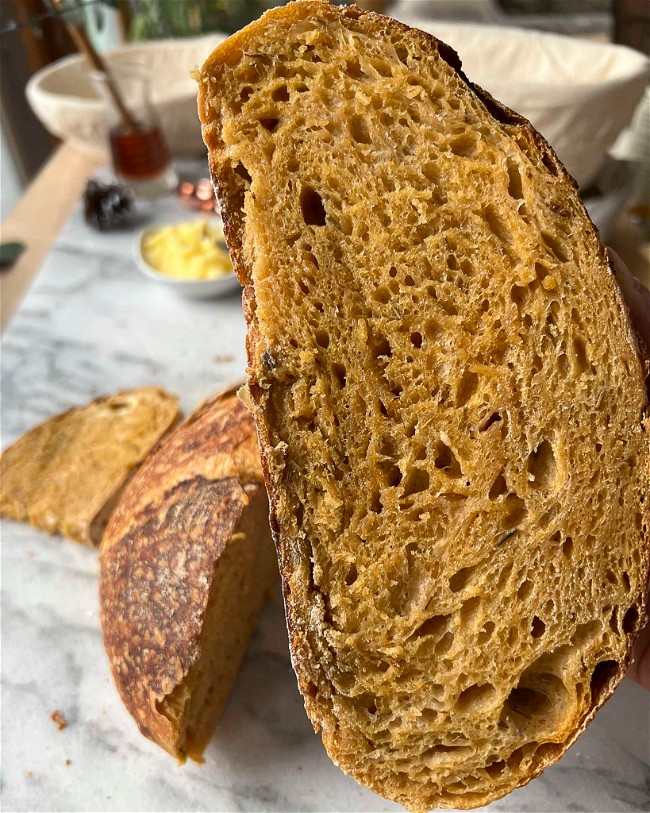
- Score & Bake, 40 mins: When the oven is preheated, cover your Tupperware/bread basket with a piece of parchment paper, and then place a cutting board over the parchment paper. While holding the parchment paper and cutting board against the Tupperware, flip it over and allow the dough to turn out. Lifting from the parchment paper edges, place your dough in the preheated Dutch oven, add the lid, and bake at 500 for 20 minutes. After 20 minutes, remove the lid, and lower the temp to 450. Continue baking for another 20 minutes. The bread is done when the crust is a beautiful golden brown and the internal temp is about 208-210 degrees.


